DJI Osmo Action- The New Action Camera
Originally known for being the leader in the commercial drone market, DJI recently released an action camera that has set to rival some of the biggest names in the industry. We had to see what the hype was about, and decided to take DJI’s Osmo Action on location to test it out. After capturing some epic footage, we are ready to share with you the top 5 Osmo Action cinematic settings the camera has to offer.
1. Color profile
When you take your brand new Osmo Action out of the box, it is going to be automatically programmed to its factory settings, like most devices. With that being said, the color profile will be set to ‘normal’ which often makes your images look highly saturated and have extreme contrast. In order to have complete creative control in post production, you must first change your color profile setting from ‘normal’ to D-Cinelike. D-Cinelike is one of DJI’s flat color profiles, which gives you the maximum amount of data and information collected from your composition. What a flat color profile does exactly, is it mutes the colors of your video by giving it a gray-like hue to the film. This provides a solid base for color grading, because it allows you to control the color and intensity level of the image itself. This is beneficial because rather than editing the colors that have been baked into the image, it allows for more creative freedom in post production.
2. Resolution
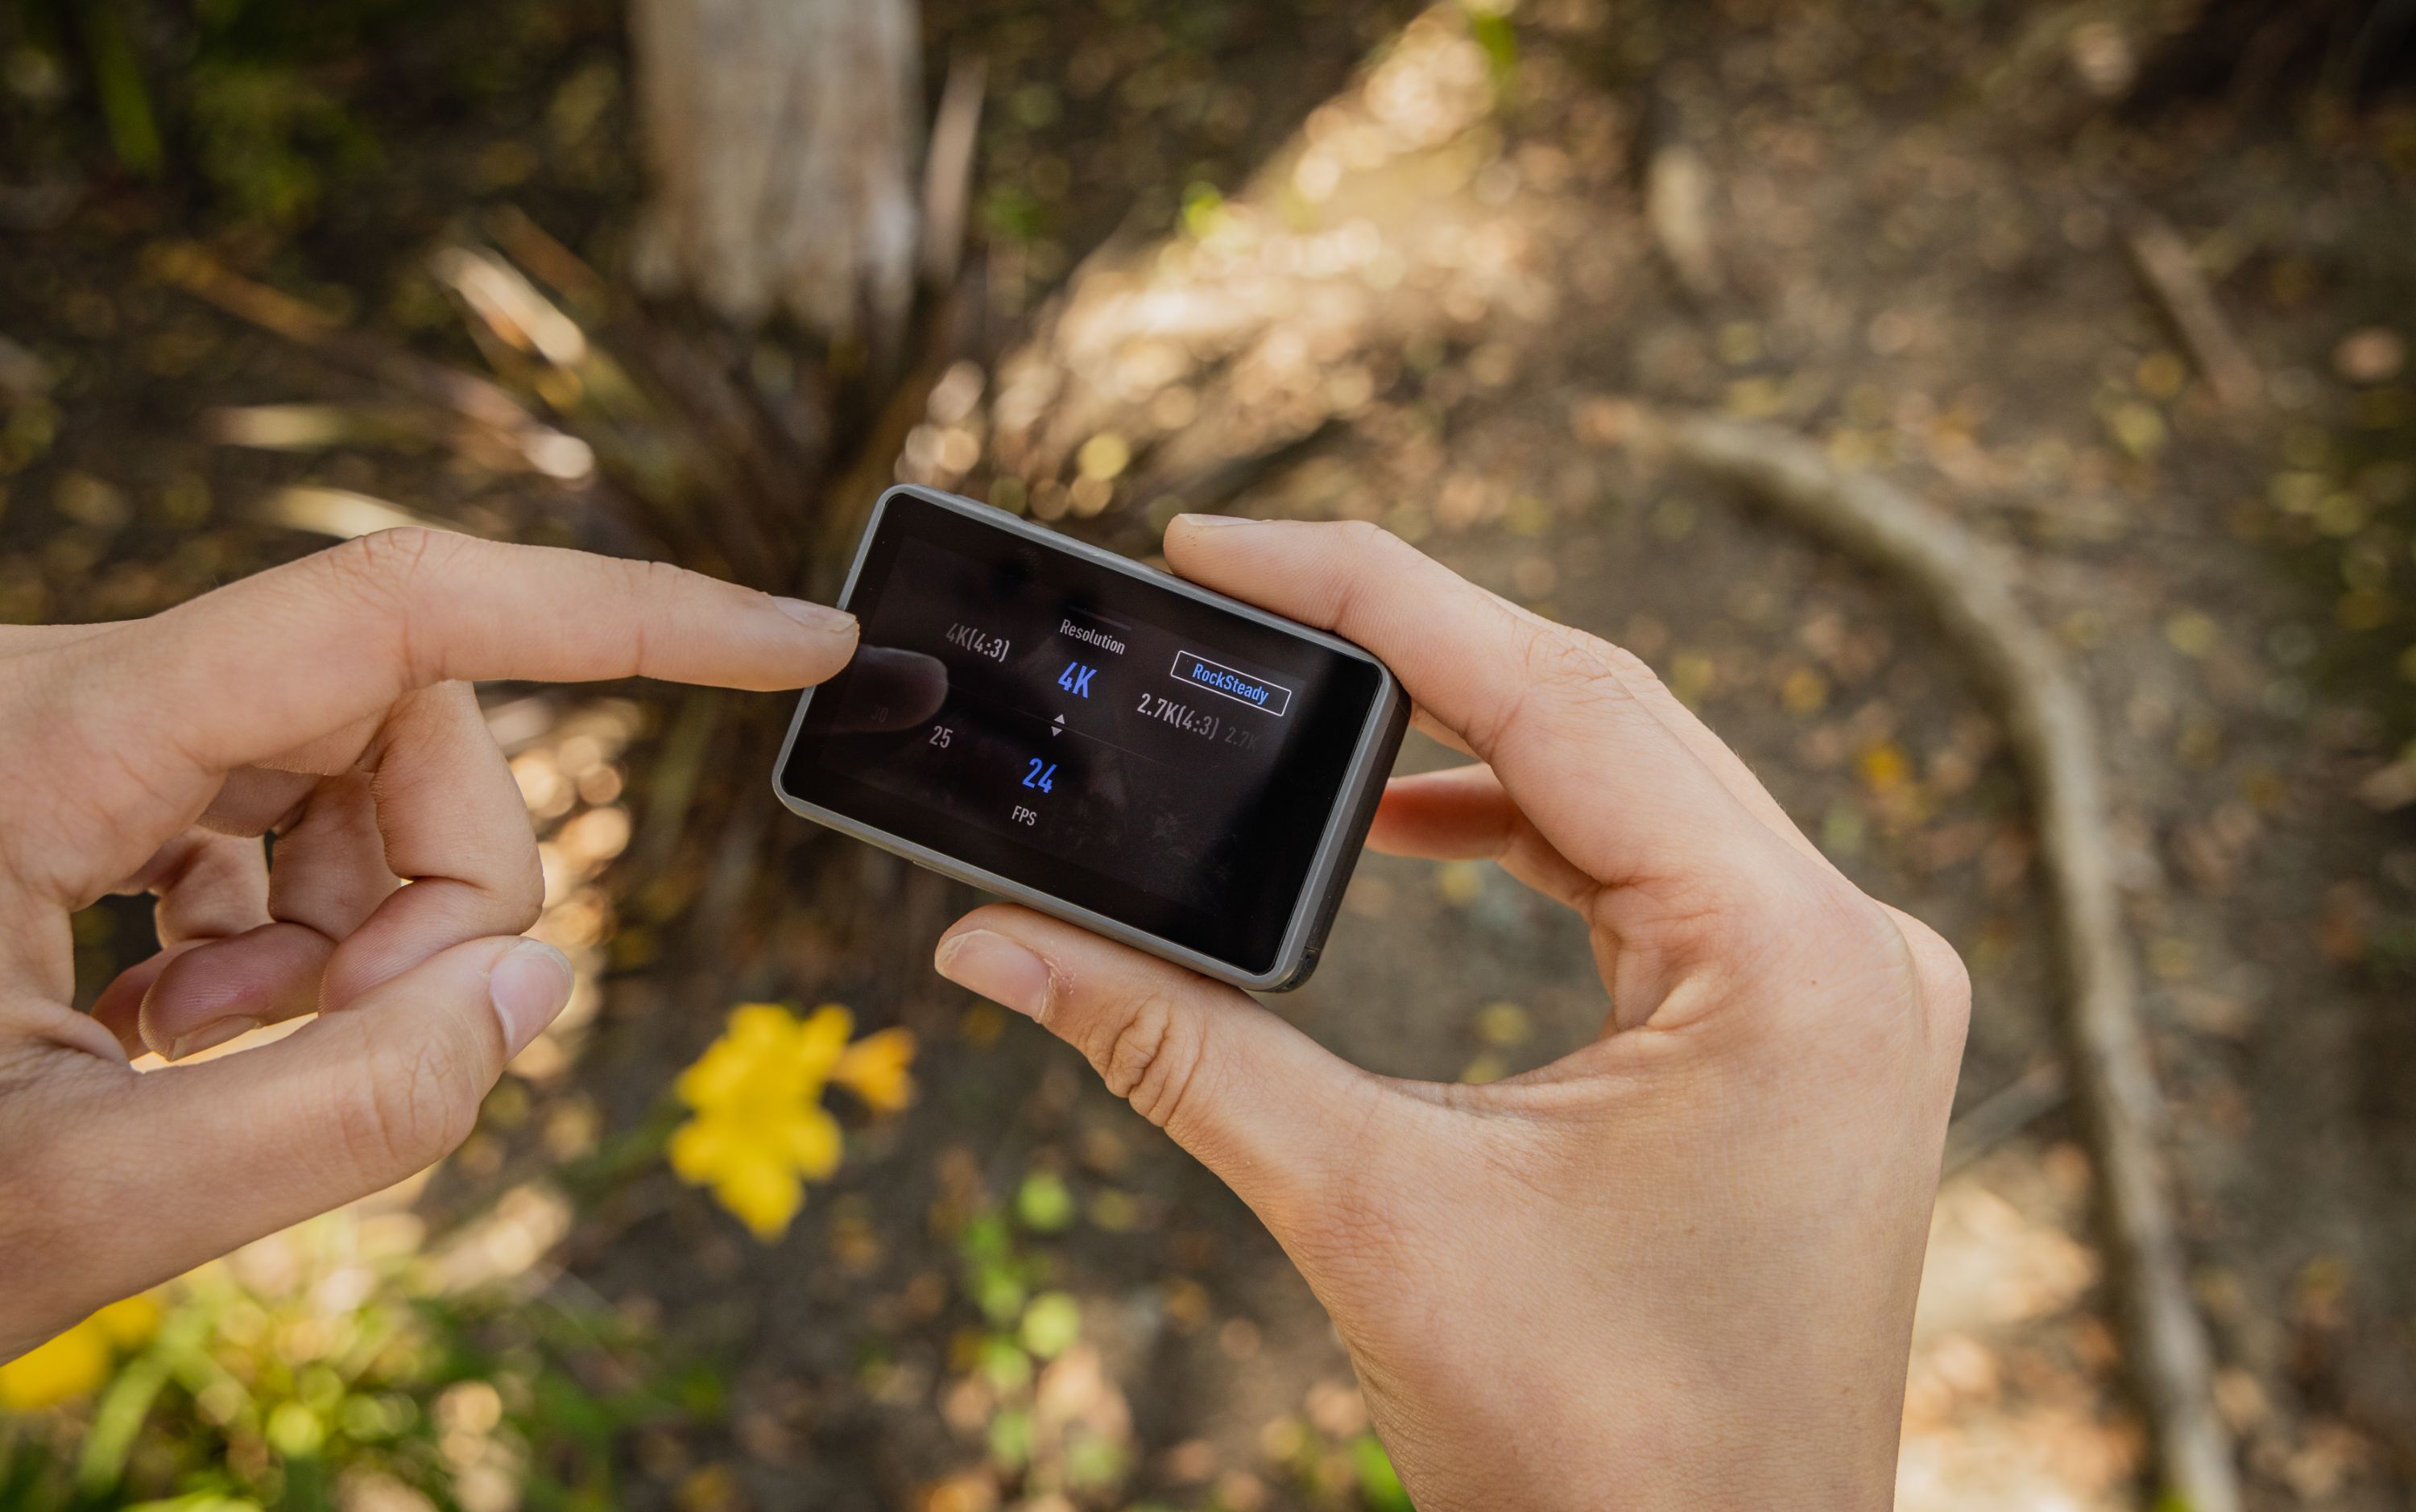
The Osmo Action supports a range of resolutions and frame rates, but one feature that sets it apart from other action cameras is that it can shoot video in HDR 4K. This can be done at 30, 25, and 24fps or frames per second in HDR 4K, HDR 2.7k, and HDR 1080p. Since 4K resolution has more pixels than 1080p, it allows you to keep the quality of your image when you have to crop or reconfigure the composition of your video. Unfortunately the Osmo Action’s stabilization feature, RockSteady, cannot be turned on when recording at the resolution of HDR 4K. The Osmo Action can also shoot at 4K 60p, 2.7k resolution for up to 60p, and up to 240 frames per second slow motion in 1080p. In other words, the resolution capabilities on the Osmo Action although somewhat similar to most action cameras, does set itself apart when it comes to their HDR 4K video capacity.
3. Shutter Speed
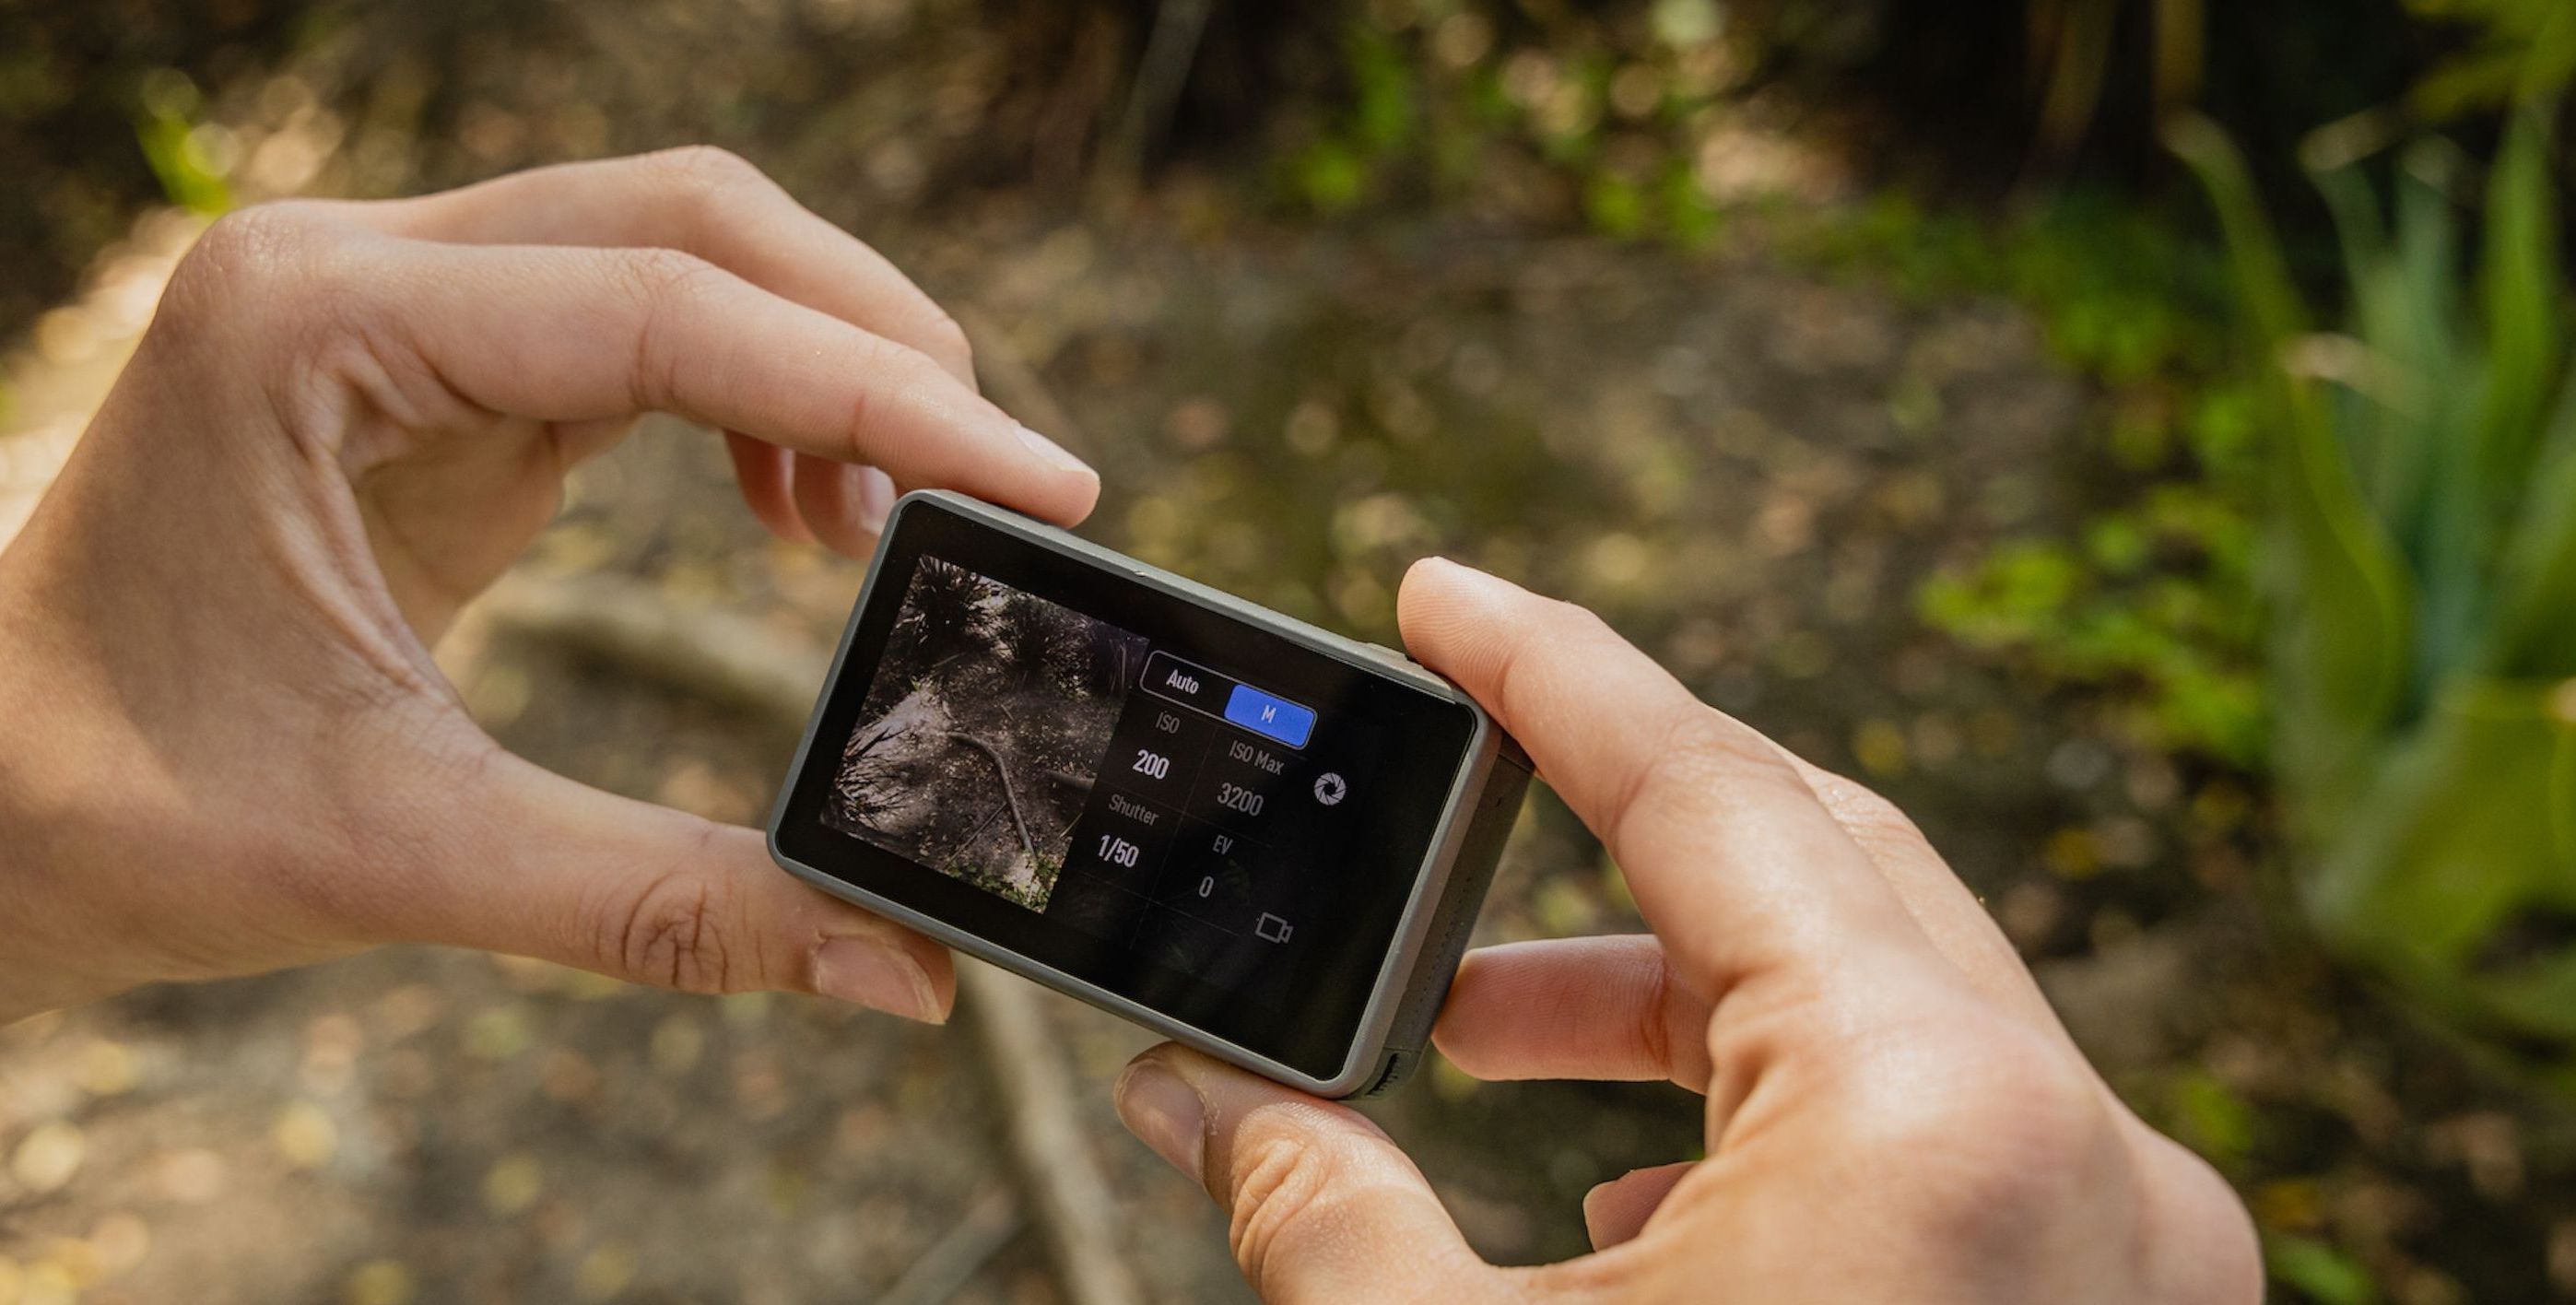
The 180 degree rule of shutter explains the relationship between shutter speed and frame rate when recording motion in video. In order to maintain continuity within the film and make the motion seem natural to the human eye, the shutter speed should be set to double your frame rate. Most cinematic videos are captured at 24 fps, so when you are filming you would want to double this number and change your shutter speed to 1/50th of a second. If you are shooting 30 fps however, you would change the shutter speed to 1/60th, or 50 fps your shutter speed would be 1/100th, in order to create proper motion blur. In addition, on the Osmo Action camera you can shoot your videos in slow motion at 1080p or 720p. Most action cameras do not have a slow motion setting, and instead require you to change the shutter speed yourself. If you wanted to adjust the settings manually to capture slow motion videos, the frame rate must be adjusted to triple your shutter speed. For example, if you are shooting at 60fps then your shutter speed would be 1/20, or if your frame rate is 120 fps then your shutter speed would be 1/40, etc. In addition ND filters can be used to adjust your shutter speed on the Osmo Action. The Osmo Action has a removable lens, which makes it easy for you to switch ND filters on and off. A ND filter is used to reduce the amount of light that is permitted to reach your camera’s sensor. By doing this, ND filters help reduce shutter speed, which in turn, allows you to double your frame rate in harsh lighting conditions. At PolarPro, we feature a wide range of ND filters for the Osmo Action camera that can help you master the proper shutter speed and as a result, create professional cinematic footage.
4. ISO
ISO correlates to the camera’s sensitivity to light. When increasing the ISO it allows you to work with less light, however if the ISO is increased often times there will be more noise and less detail within your video. In other words, when increasing your ISO it will bring light into dark images, but as a result can diminish the quality of the shot. At lower ISOs the degree of the video signal is significantly large when compared to the noise, this means that the noise generally remains inconspicuous. When shooting on your Osmo Action camera, it is best to keep your ISO low in order to avoid noise; however, your determined ISO level is ultimately dependent upon the surrounding environment and lighting conditions. For example, if you are shooting in a low-light setting you will need a higher ISO to properly expose the photo and brighten up the film. On the other hand, when you are in a very bright setting trying to capture footage on your Osmo Action, a lower ISO would be appropriate in order to avoid noise getting into your film.
5. White Balance
White balance is how warm or cool your image appears, and another setting on your Osmo Action that shouldn’t be left on ‘auto’. If you do not adjust the white balance while you are filming all day, it can be a major headache when you begin to edit your footage due to the inconsistency in the shots. When your white balance is boosted up, it makes your image a lot warmer; whereas if your white balance is turned down, it will make your image look cooler. White balance is measured in Kelvin (K), which is a value that correlates to temperature. As you scroll through the white balance settings on your Osmo Action, it will physically display what each option looks like making it easy for you to see what setting would be best for your location conditions. The white balance options range from 2000K to 10,000K in 100K increments on the Osmo Action. This gives you a wide selection of options to help you adjust and capture the perfect video in any environment. The option to use a high or low white balance setting is dependent upon your location surroundings. For example, when you are capturing footage at golden hour, it would be best to set your white balance to a lower temperature in order to avoid over exposure. On the other hand, if you are in a snowy environment using a higher white balance temperature, would be beneficial because it will properly brighten up the video rather than causing it to have too much of a blue tint to it.
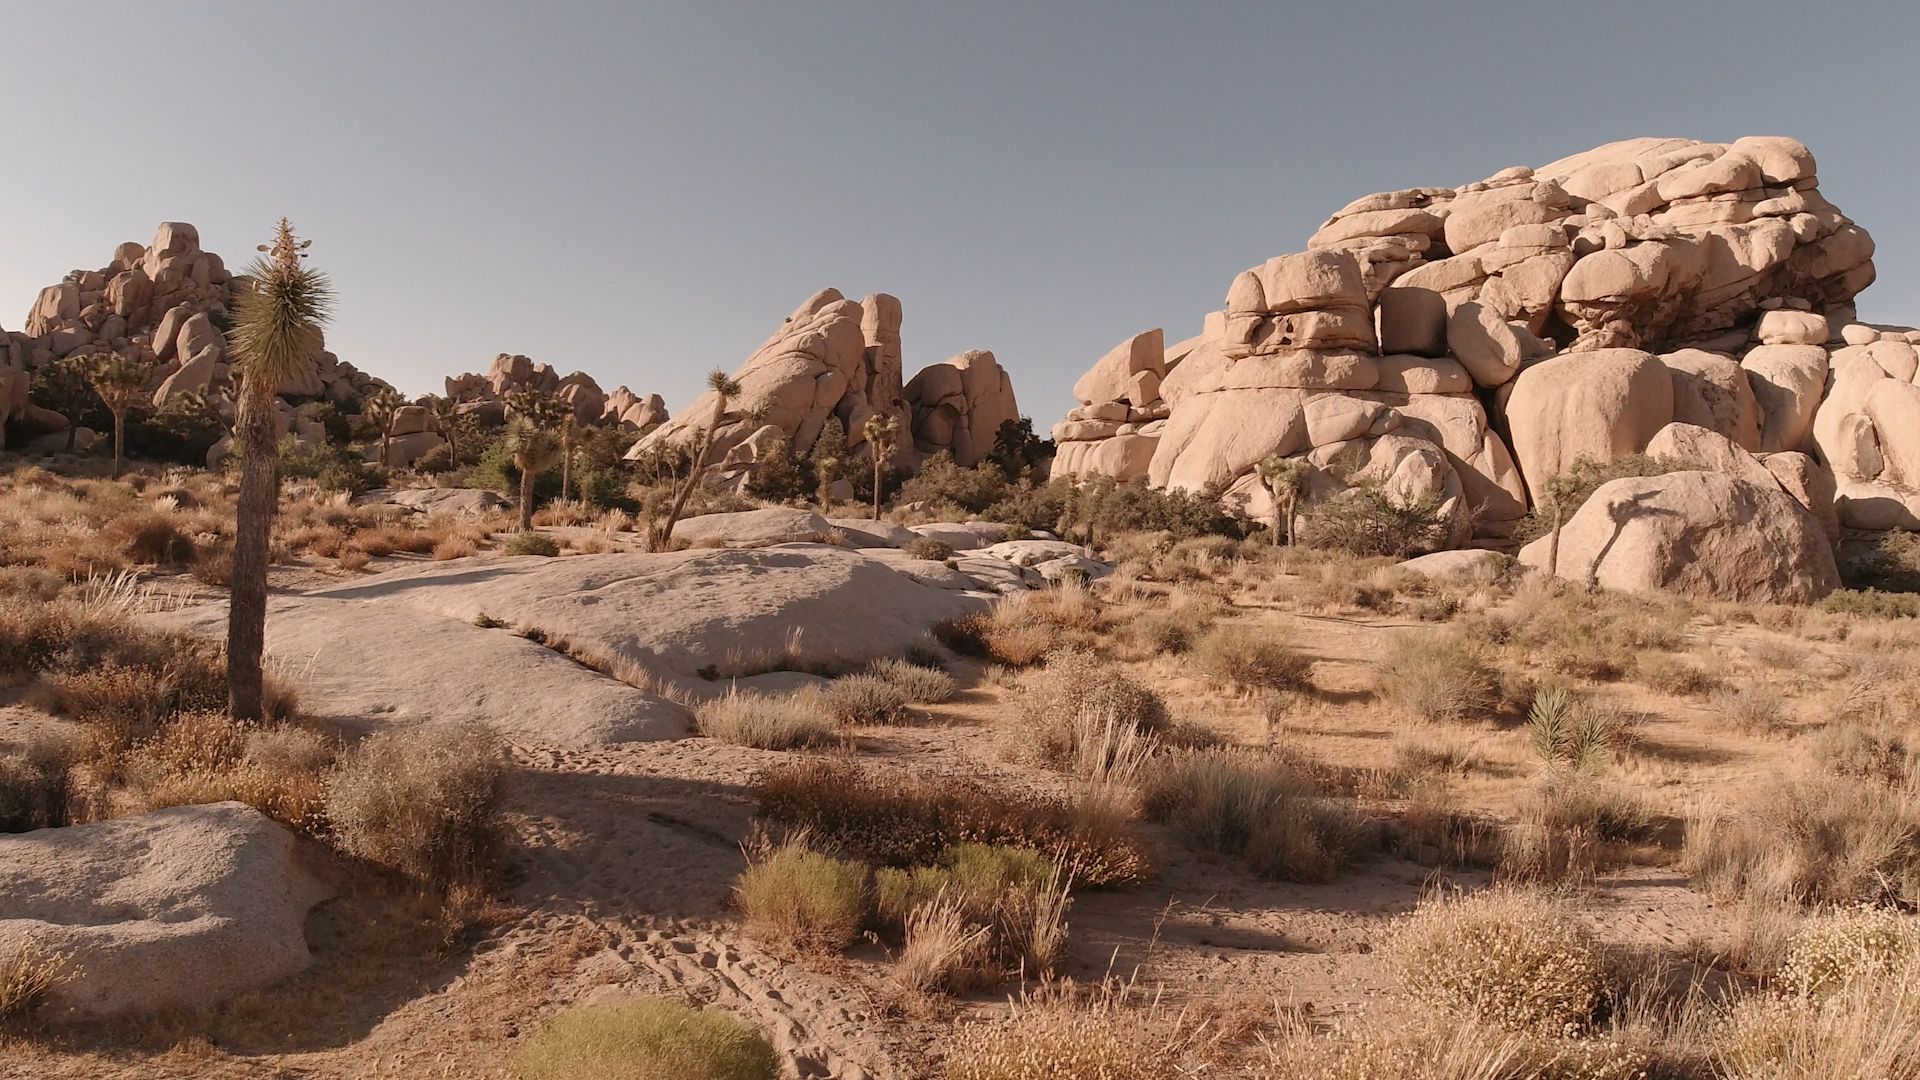
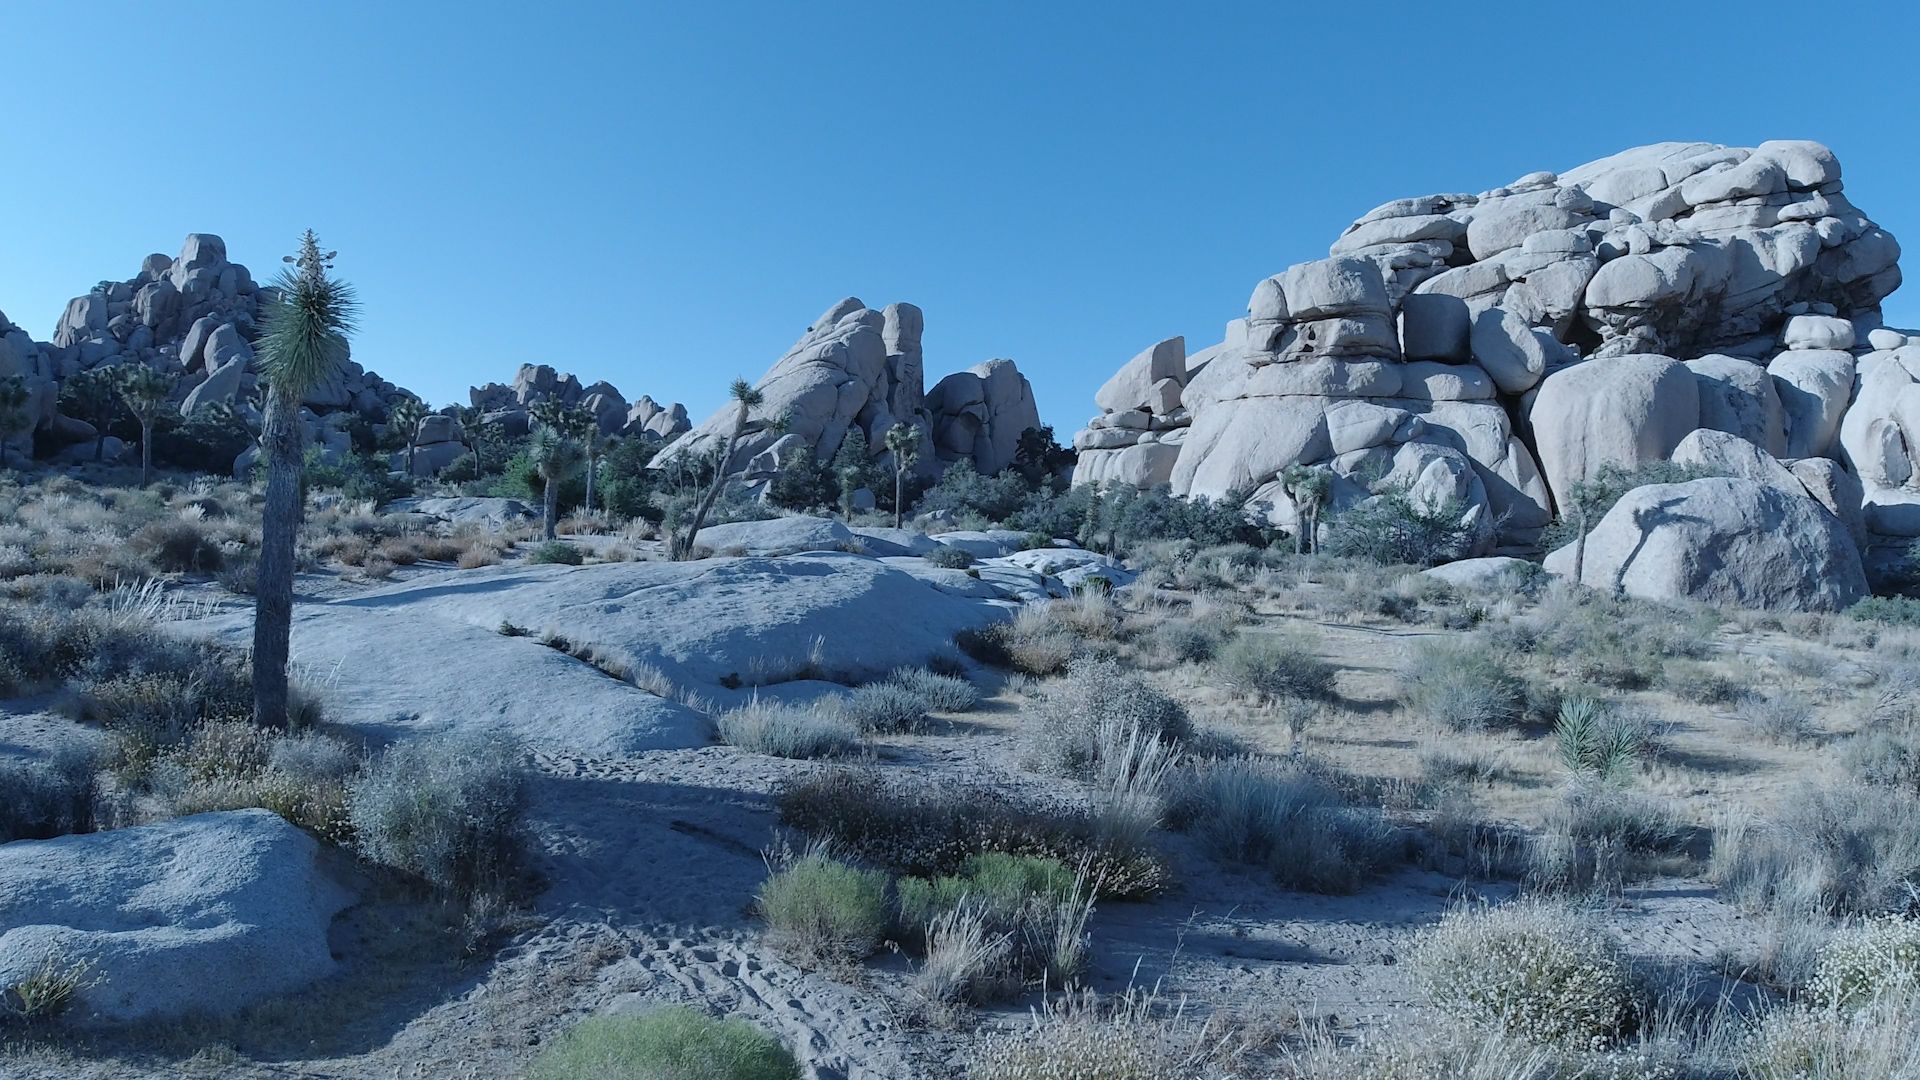
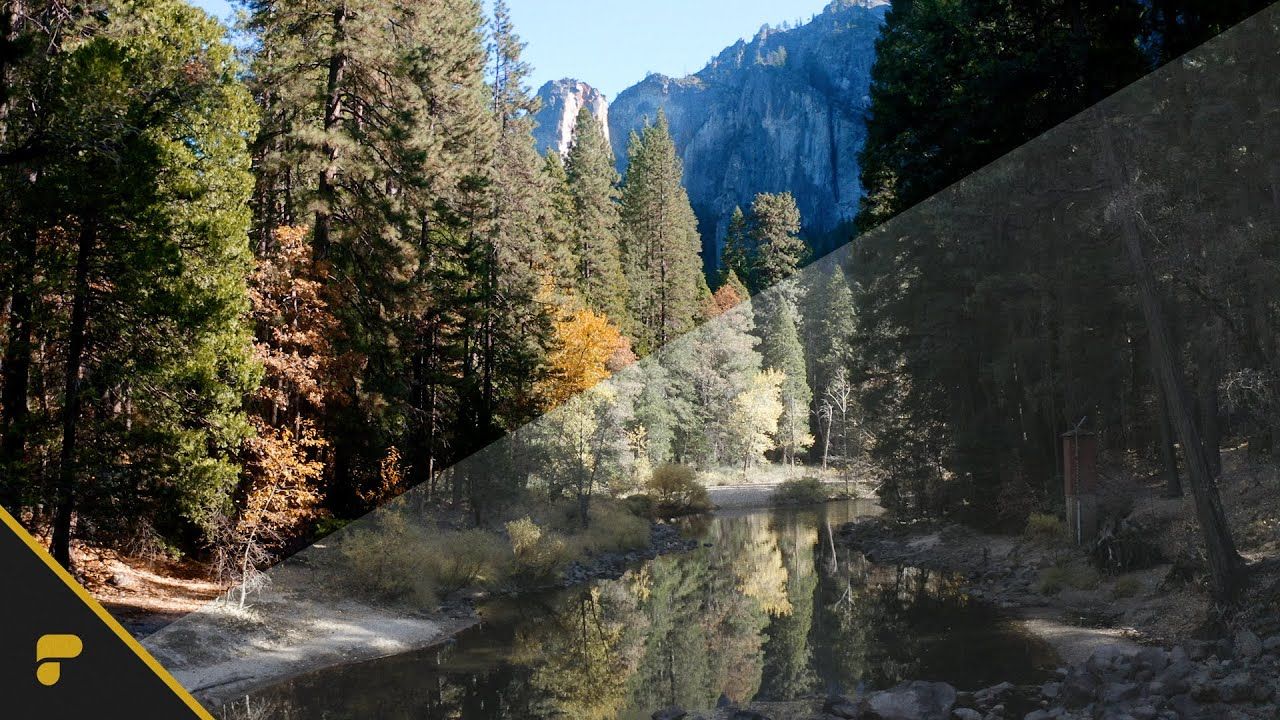
This image was captured at a white balance rate of 2500k, and has caused the picture to have a cool blue tone.
How can you customize your camera’s settings so you don’t forget? Luckily the Osmo Action has a new feature where you can create up to 5 setting profiles that save within the device. As the conditions change throughout the day while you’re filming, you can toggle between profiles to adjust your settings to match the environment properly. This feature makes it easy for you to automatically go to your favorite settings when your on location, rather than having to fumble and continually alter them in the middle of a shoot. The Osmo Action has made a name for itself within the action camera industry, and although it is great for shooting, the best way to maximize your footage is by following this guide to Osmo Action cinematic settings in order to create epic content. If you have any further questions regarding this article or would like more information on our ND filters for the Osmo Action, please contact support@polarpro.com for assistance.

Carly San Filippo
Marketing Team at PolarPro


Share:
Jason Vong
Jeven Dovey